Product Knowledge | Motorcycle Magneto Coil Failure: Emergency Handling & Repair Guide
Understanding Magneto Coil Failures
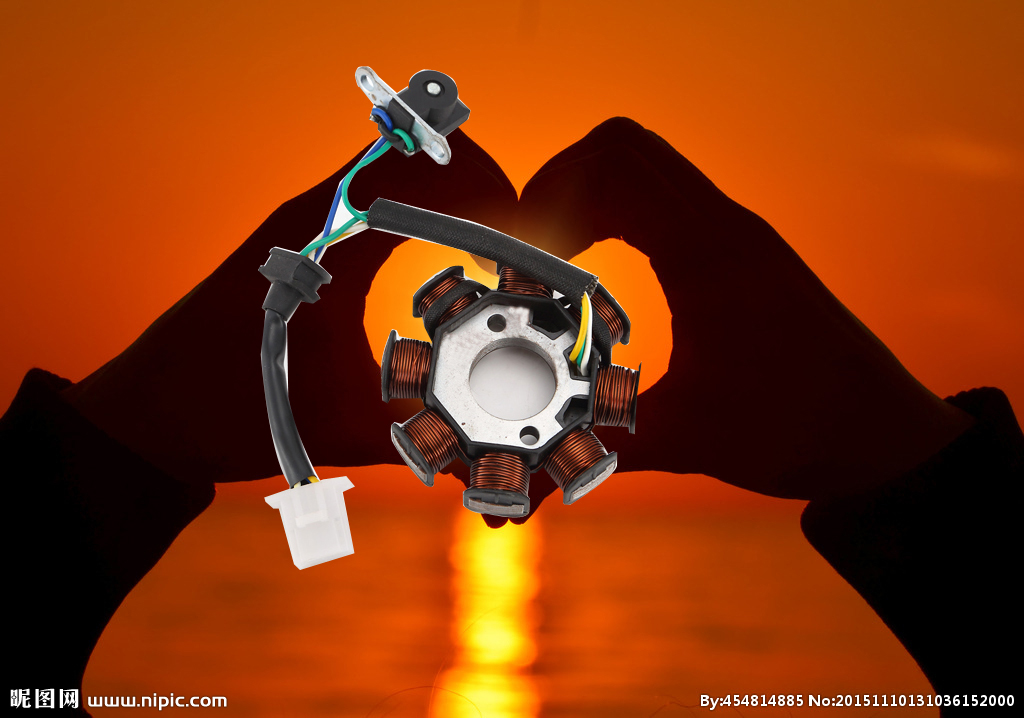
A magneto coil is the heart of your motorcycle’s electrical generation system. When it fails, it directly cuts off the power supply for ignition, lighting, and charging, potentially leaving you stranded.
Section 1: Quick Fault Identification (5 Key Symptoms)
Look for these signs of a failing magneto coil:
- Starting Failure: Electric starter cranks but engine won’t ignite; kick-start feels “dead” with no resistance or ignition spark.
- Power Drain: Battery depletes rapidly even after a full charge. Symptoms include a weak horn, dim lights at idle, and eventual inability to start electrically.
- Erratic Lighting & Electronics: Headlight and taillight brightness fluctuates wildly with engine RPM (very dim at idle, overly bright at high revs). Dashboard backlight may flicker.
- Unstable Idling & Misfiring: Engine runs rough, stalls at idle, or has noticeable power hesitation (misfires) during acceleration due to inconsistent spark.
- Physical Damage & Overheating: Visible signs include burnt or melted insulation on coil wires, a strong burnt smell from the magneto cover, or an excessively hot engine case near the coil.
Section 2: On-the-Road Emergency Solutions
If you suspect a coil failure mid-ride, try these steps to get to safety:
- For Starting/Ignition Issues:
- Check Connections: First, ensure the coil’s main connector (usually near the engine) is securely plugged in. Corrosion or a loose plug can mimic coil failure.
- Bump/Push Start (Manual Bikes Only): This can work if the coil has partial output. Turn ignition ON, put bike in 2nd gear, hold clutch, get a push or roll downhill, then release the clutch abruptly to turn the engine over.
- Prioritize Power: Turn OFF all non-essential loads like lights, phone chargers, and heated grips to direct any remaining charge to the ignition system.
- For Total Electrical Failure:
- The goal is to reach a repair point. If the bike dies completely, you will likely need roadside assistance or a tow.
Section 3: Step-by-Step Diagnosis & Repair
Important: This involves basic mechanical skill. If unsure, consult a professional.
Tools Needed: Multimeter, basic socket/wrench set, service manual for your bike.
Step 1: Visual Inspection & Access
- Disconnect the battery negative (-) terminal.
- Locate and remove the magneto/stator cover on the engine’s side (often left side).
- Inspect the coil (stator) for obvious physical damage: burnt windings, melted coating, broken wires.
Step 2: Electrical Testing with a Multimeter
Disconnect the coil’s main wiring connector. Perform these tests:
- A. Resistance Test (Ohms – Ω): Tests for open or shorted windings.
- Set multimeter to the lowest Ohms (Ω) setting.
- Phase-to-Phase Test: Measure resistance between each pair of the coil’s output wires (e.g., Wire1-Wire2, Wire2-Wire3, Wire3-Wire1). Consult your service manual for the exact specification (typically between 0.1Ω and 2.0Ω). All readings should be very close to each other. An “OL” (Open Loop) or infinite reading indicates a broken wire inside the coil.
- Ground Test: Set meter to a higher Ohms scale. Measure resistance between each coil wire and the metal coil core or engine ground. A good coil should read “OL” (infinity). Any low resistance (e.g., 0-100Ω) indicates a short to ground—coil is faulty.
- B. Output Voltage Test (AC Volts): Tests the coil’s generating capability.
- Reconnect the coil plug if necessary for this test. Reconnect battery.
- Set multimeter to AC Voltage (V~), scale above 50V.
- Start the engine. Carefully probe between the coil’s output wires at the connector (consult wiring diagram).
- Voltage should rise steadily with engine RPM (e.g., 15-20V AC at idle, 30-70V+ AC at 3000-5000 RPM). Significantly low or no output confirms a faulty coil.
Step 3: Replacement & Reassembly
- If tests confirm a faulty coil, purchase an exact OEM or high-quality aftermarket replacement.
- Remove the old coil by unscrewing its mounting bolts. Note the routing of its wires.
- Install the new coil in reverse order. Ensure the wires are routed away from moving parts and the flywheel.
- Carefully reconnect all electrical connectors.
- Reinstall the magneto cover with a new gasket to prevent oil leaks.
- Reconnect the battery.
- Start the engine and test all electrical systems. Use the multimeter to check the battery voltage with the engine running (should be 13.8V – 14.5V DC), confirming the charging system is operational.
Prevention Tips
- Keep it Dry: Avoid high-pressure water directly on the magneto cover when washing.
- Check Connections: Periodically inspect the main stator connector for corrosion or looseness.
- Avoid Overloading: Adding high-wattage accessories (lights, audio) can overload the stator. Upgrade the entire charging system if needed.
- Address Charging Issues Promptly: A faulty voltage regulator/rectifier is a common cause of stator burnout. If your battery is consistently overcharged ( >15V) or undercharged, fix it immediately.
Disclaimer: This guide is for informational purposes. Electrical work can be hazardous. Always prioritize safety and refer to the official service manual for your specific motorcycle model. If you lack the tools or confidence, seeking help from a qualified mechanic is strongly recommended.